Unreal Tutorial
Initial Configuration
Please be aware trueSKY for Unreal does not support OSX and OpenGL. For Vulkan please use Unreal 4.22 or greater.
This page shows you how to install the binary version of trueSKY onto your existing binary UE installation. For other versions, or if you have a version of Unreal Engine built from source, you will need to build the plugin. Check the Unreal Source page for information on GitHub/Engine Source Integration.
Installing the Plugin
1: Login to your account at https://simul.co/account. If you have not created an account yet, head over to installation home page to get setup.
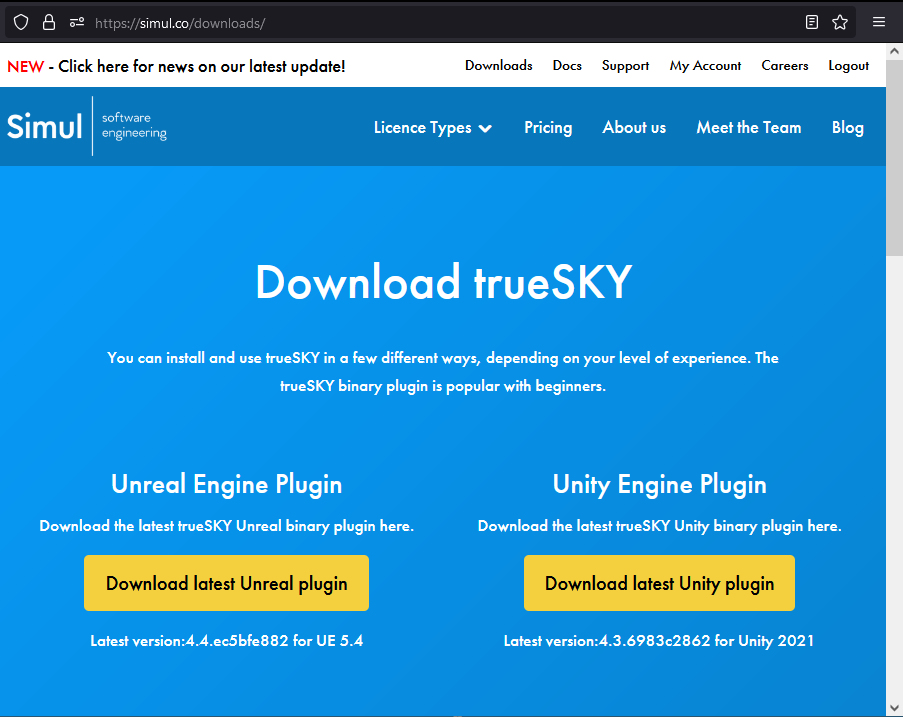
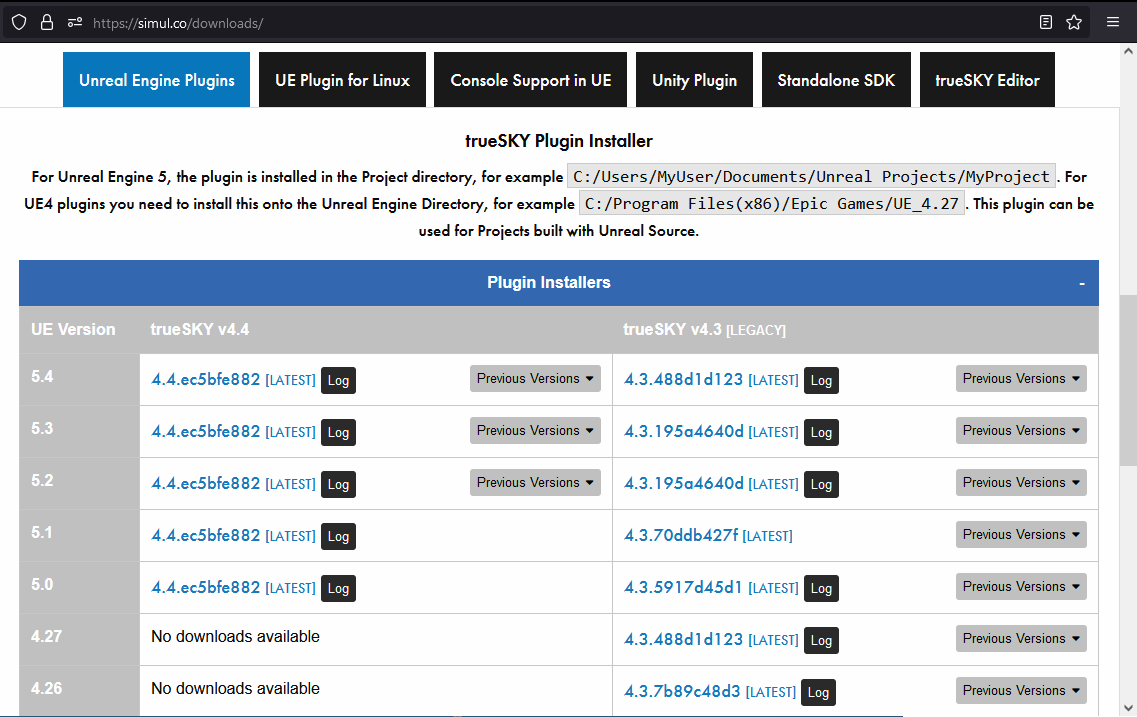
2: Download trueSKY binary installer from https://simul.co/downloads. You can click the larger buttons at the top to get the latest trueSKY download for the latest Unreal version, or you can scroll down for specific version downloads. Make sure to select the correct engine version you desire, and we always recommend the most up to date version of trueSKY.
3: After downloading, Run the trueSKY installer, ensuring that you select your Unreal Project directory as the installation location. After the installation process is complete, the plugin should be installed into YourProjectDirectory/Plugins/trueSKYPlugin

Make sure you select the correct project
Running the plugin
1: Launch the project you installed trueSKY into.
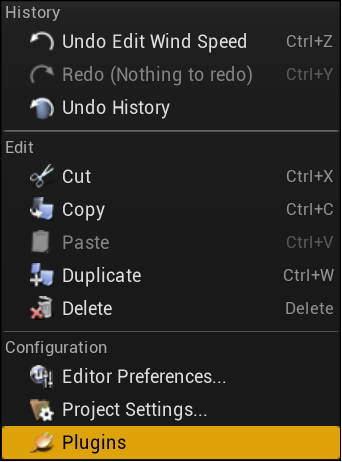
2: Click ‘Window -> Plugins’ from the dropdown menu at the top of the window.
3: A new ‘Plugins’ window will appear. Use the search box to find ‘trueSKY’.
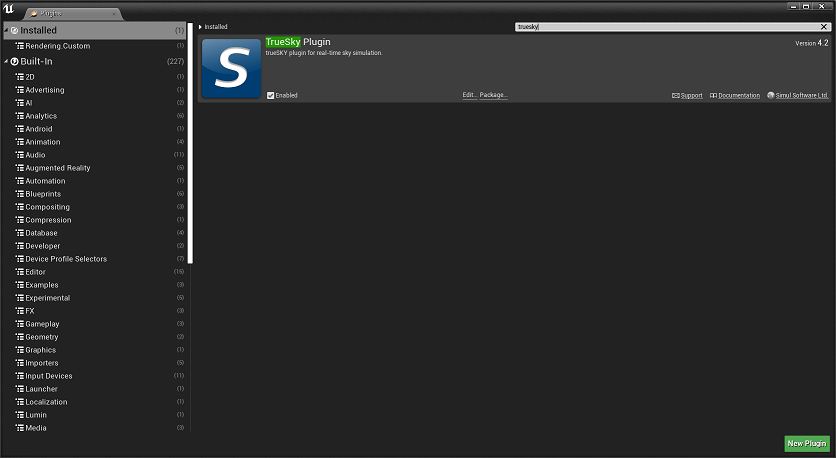
4: Make sure trueSKY is enabled with the small tick box. If it is not, enable it. This will require you to restart Unreal.
5: Once the plugin has been enabled, trueSKY is now ready to be used within the scene.
Adding trueSKY to the level
1: Click ‘Window -> initialize trueSKY’ from the dropdown at the top of the window.
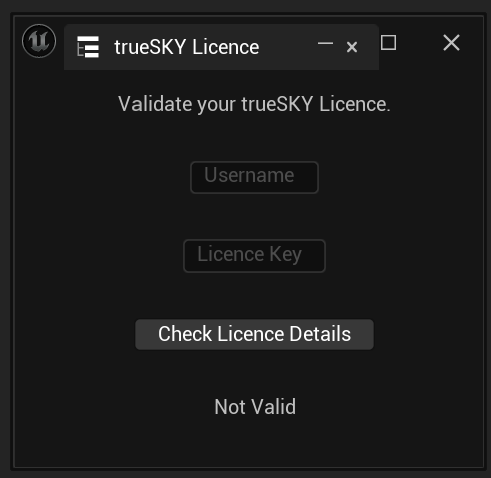
2: If you have not verified your licence, a pop-up window will appear asking for your licence information. Please input your username and licence key from your Simul Account.
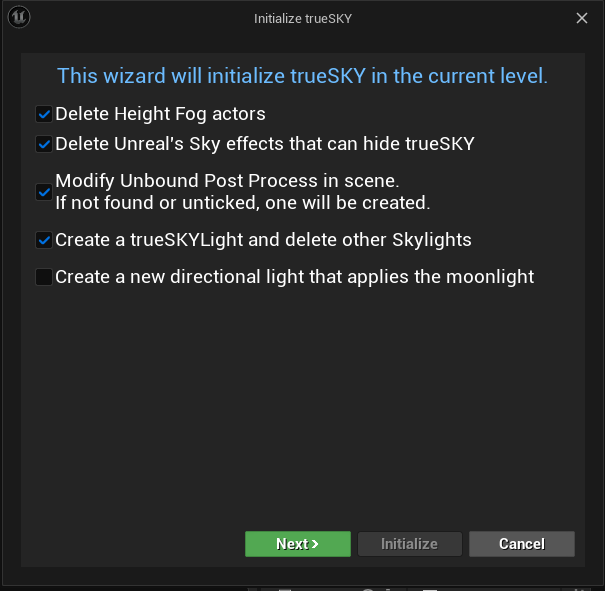
3: Initialize again, and now you will open the wizard. For the first page, ensure you are happy with your settings and click next.
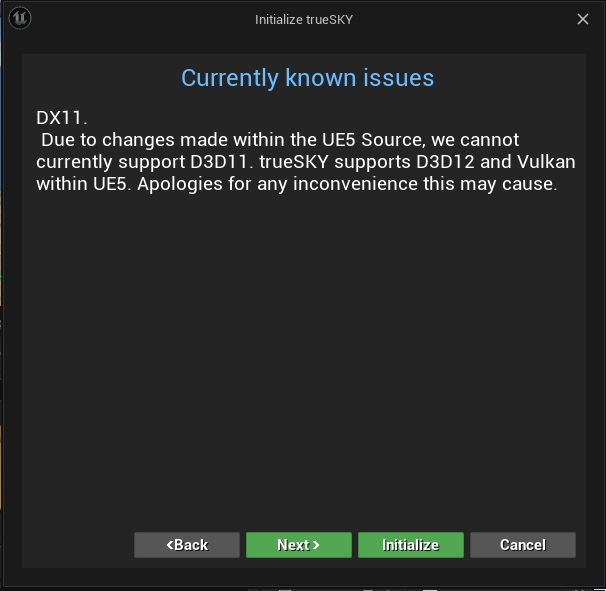
4: Page 2 will show you the latest message, and you can either click initialize to allow trueSKY to set itself up, or you can click next to customise initialization. If you clicked initialize, you can skip the the next section, creating a sequence.
5: Select an initial sequence asset. This can be changed at any time. There will be two options, TrueSkySequnceCumulus, and TrueSkySequenceStratus. You can also tick the ‘Show all sequences’ box if you already have some sequences available in the project contents. Select a sequence, then press next.
6: We recommend you create a TrueSkyLight, for more accurate lighting. You can also select which direction light trueSKY will control, if you do not select one then a new directional light will be created.
Once initialize is selected, you should see trueSKY appear in the scene, although there may not be any clouds.
Creating a new Sequence
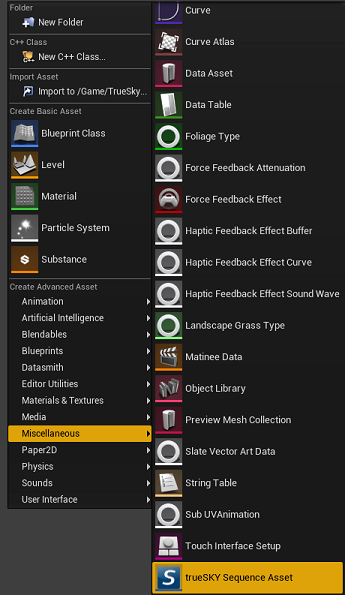
1: Either select Add New at the top left of the content browser, or right click within the content window.
2: Click on “Miscellaneous -> trueSKY Sequence Asset” to create a new sequence. It can be renamed/saved/moved/deleted to your preference.
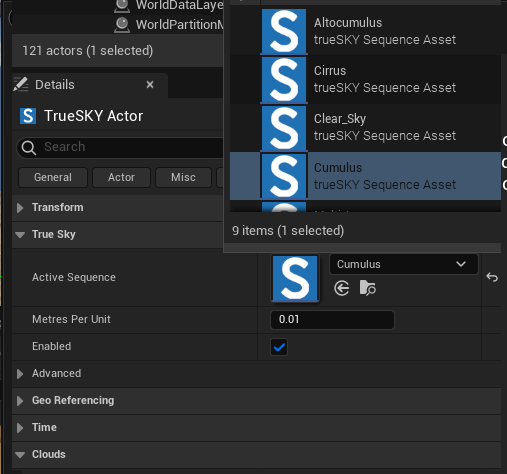
3: To make this new sequence the active sequence in the world, select trueSkySequenceActor in the world outliner, then in the details section, search for ‘Active Sequence’
4: You can either manually select your sequence from the dropdown next to active sequence, or you can drag and drop your preferred sequence from the content browser to the active sequence box.
Now you are almost ready to start creating amazing environments with trueSKY, you just need to activate your license within the sequencer. Head over here to learn how.